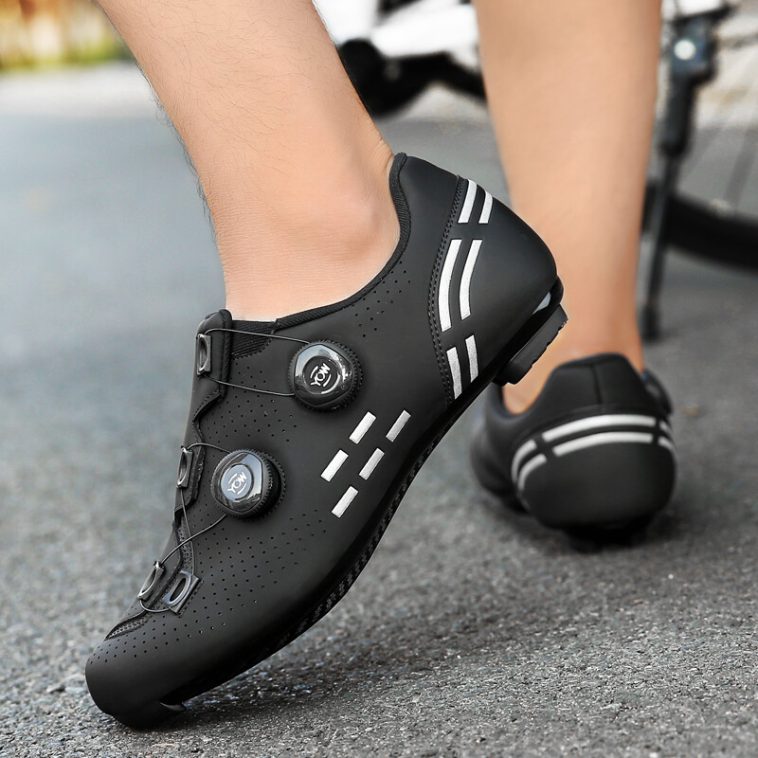
A cycling shoe must feel firm under the cleat and still feel alive at the toe. Power should go straight to the pedal. No twist. No spongy feel. The seam map and stitches per inch do a big part of this job. Reinforcement paths guide force from the cleat plate into the upper and back to the heel. Here is a simple plan you can use.
Why the cleat zone matters
Every pedal stroke loads a small area under the ball of the foot. If the shoe bends too much there, power leaks. If it is too stiff in the wrong place, the foot goes numb. The best design locks the cleat zone but lets the forefoot flex a little in front of it. Stitches and tapes should support this idea.
Seam placement around the plate
- Keep long structural seams behind the first met head. Aim 5 to 8 mm back from the pedal axle line.
- Avoid seam crossings directly over the cleat slots. A cross of holes can become a crack start.
- Route seams so they run with force. From cleat area toward the arch and heel, not across the load path.
- Round all corners with a 6 to 8 mm radius. Tight turns crowd holes and can start splits during hard sprints.
Stitches/inch & stitch-length
- Construction lines around the cleat box. 3.0 to 3.5 mm stitch length. That is about 7 to 8 SPI. This gives strength with fewer holes.
- Visible top lines that also carry load. 3.5 to 4.0 mm. About 6 to 7 SPI. Calmer seam. Less perforation.
- Micro comfort seams near the toe or tongue. You can go slightly shorter, but never crowd holes in high load zones.
- Use double rail where a single line would be dense. Two slim rows 2 to 3 mm apart share load better than one tight row.
Thread and needle choices
- Corespun polyester sewing thread is a strong default for uppers and cleat zone seams. Low stretch. Good heat control.
- High tenacity polyester at strap anchors, eye stays, and around the cleat window. Strong for size lets you use a smaller needle.
- Use the finest passing ticket that meets strength. Smaller thread means smaller holes.
- Needles. Micro or light round for coated synthetics and microfiber. Start NM 80 to 90. Coated needles reduce heat and keep edges clean.
- Polyester embroidery thread for logo.
Reinforcement paths that stabilise
Think of a triangle. Cleat to arch. Cleat to lateral wall. Cleat to heel cup. Build those roads.
- Underlay tapes inside the allowance. Width 3 to 4 mm. Same polymer family as the upper. Place them from the cleat window back to the heel counter, and from the cleat window to the medial arch.
- Stitch channels pressed over top lines so thread sits a little lower. This prevents scuff and keeps seams smooth in out of saddle efforts.
- Heel cup anchors. Add two short wide tacks that grab both the counter and the rear ends of the reinforcement tapes. Width 3 to 4 mm. About 10 to 14 stitches. Two small tacks beat one long hard bar.
Outsole and cleat box interface
- Scuff and clean the plate area. Keep a narrow no glue lane over any continuity tape if used for ESD floors in labs.
- Bond lanes should be 3 to 4 mm wide with even pressure and a brief cool clamp so the edge does not spring.
- Do not drill extra holes in the underlay path. Extra holes are weak points.
Closures and straps
Straps and dials pull power into the cleat zone. Anchor them to your reinforcement roads.
- For straps, place the stitch rows so pull vectors meet the medial arch tape, not the thin toe panel.
- For laces, offset the eye row so knots do not sit on the toe flex. Use small washers under metal eyelets to avoid cutting the upper.
Vent and comfort without giving up support
- Vent holes should live between reinforcement lanes. Never along the lane.
- A thin forefoot pad or strobel foam can reduce hot spots. Keep it short in front so the cleat zone stays flat on the plate.
Simple tests you can run
- Edge and roll test
Mount a cleat and stand on a narrow pedal or a 10 mm bar. Rock side to side. If the shoe rolls, add a lateral lane or increase tape width by 1 mm. - Torsion test
Hold heel and forefoot and twist opposite. Compare to your target shoe. If too soft, extend the medial lane farther back or add a second parallel lane. - Sprint burst
On a bike or rig, do 10 short sprints. Check for stitch whitening around the cleat box and for bond lift. If whitening shows, lengthen stitch to 3.5 mm and round corners more. - Hot spot ride
One hour at steady power. If numbness shows, thin the pad ahead of the cleat and reduce any dense seam directly above the met heads.
Troubleshooting quick table
| Problem | Likely cause | Fast fix |
| Cleat area feels mushy | Weak lanes or seams across slots | Add medial and lateral underlay tapes, remove cross seam, double rail |
| Stitch cracking near slot corners | Tight radius and high SPI | Radius 6 to 8 mm, lengthen to 3.2 to 3.8 mm |
| Heel wag under load | Lanes end too early | Extend lanes to heel cup and anchor with two short tacks |
| Numb forefoot | Dense seam over met heads | Move seam back 5 to 8 mm, press stitch channel, thin pad ahead of cleat |
| Strap stretch feel | Strap anchors on soft panel | Relocate anchors to meet a reinforcement lane |
Tech pack lines you can copy
- Stitch 301 construction length 3.2 mm around cleat box, top lines 3.8 mm, double rail 2.5 mm apart on stress paths
- Thread corespun polyester for runs, high tenacity polyester at strap anchors and cleat window edge
- Needles micro or light round NM 80 to 90, coated type
- Reinforcement same family tapes 3 to 4 mm from cleat window to medial arch and heel, stitch channels over visible rails
- Corners radius 7 mm at window turns, no seams crossing cleat slots
One week pilot plan
Day 1 map lanes on paper and mark on the upper.
Day 2 sew two uppers with two stitch lengths and two tape widths.
Day 3 bond to plates and run roll and torsion tests.
Day 4 ride sprints and log any whitening or lift.
Day 5 adjust radius and lane width where issues show.
Day 6 do the hot spot ride and tweak pad shape.
Day 7 freeze the spec and brief the line on stitch length and lane placement.
Wrap
Stable cleat zones come from clear paths and calm seams. Place seams away from slots. Use longer stitches and small needles. Build medial, lateral, and heel lanes that carry load. Anchor closures into those lanes. Test roll, twist, and long comfort. Tune one change at a time. Do this and your cycling shoes will feel solid on the pedal and still let the rider feel the road.